Conseguir soportes de montaje para paneles solares Hacerlo bien no es un trabajo glamuroso, pero es la parte más importante de tu proyecto solar. Si no lo haces bien, podrías terminar con una avería en el tejado, paneles inestables o, peor aún, una fuga. Esta guía elimina todas las complicaciones y te ofrece un camino claro y realista, paso a paso, tanto para la instalación en un tejado suburbano como en un local comercial.
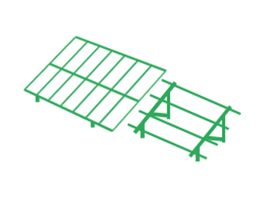
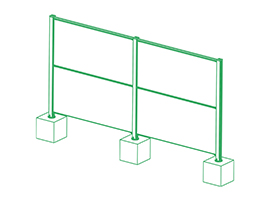
Imagine su sistema solar como un árbol. Los paneles son las hojas, los rieles son las ramas, pero... soportes de montaje para paneles solares Son las raíces. Si son débiles, todo el sistema falla. Por eso los profesionales nunca escatiman esfuerzos:
Consejo profesional Para techos difíciles (como tejas o metal), evite los soportes "universales". Utilice kits especializados (como Corigy Ganchos para baldosas) para evitar grietas y fugas.
No empieces sin estos:
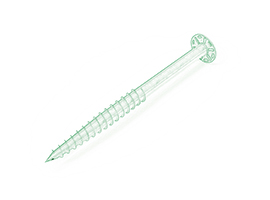
Crítico: La falta de una viga reduce la resistencia en un 80%. ¡Compruébelo con un detector de vigas!
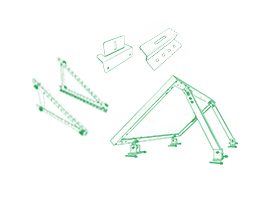
Soportes de montaje para paneles solares Son los héroes anónimos de su inversión solar. Recortar gastos aquí conlleva riesgos:
Compre soportes con certificación UL y resistentes a la corrosión que se adapten a su tipo de techo. Techos de teja, pizarra o metal resistente: considere soluciones de ingeniería como kits específicos para aficionados como Corigy. Con kits de ingeniería como Corigy Se evitan el 90 por ciento de los fallos típicos.
En resumen, precisión + materiales de alta calidad = 25 años de energía sin problemas.
Clavado de la instalación de soportes de montaje para paneles solares No se trata solo de pernos y rieles, sino de tranquilidad. Si los soportes se instalan rectos, se impermeabilizan y se ajustan con precisión, su sistema solar resistirá tormentas de nieve, evitará fugas y proporcionará energía limpia durante años. Los atajos pueden resultar en reparaciones costosas, vidas en peligro y desperdicio de energía. En el caso de techos complejos, como los de teja o metal, utilice las soluciones especiales de Corigy Para lograr un ajuste resistente a la intemperie, tan sólido como una roca. Recordatorio: los soportes de alta calidad y la precisión profesional solo hacen que un proyecto solar sea bueno, y luego magnífico. Planta una vez, cosecha para siempre.
P: ¿Cómo se fijan los soportes a los paneles solares?
R: ¡No! Los soportes se atornillan a las vigas del techo, los rieles se encajan en los soportes y los paneles se sujetan a los rieles. Los soportes anclan el sistema; las abrazaderas sujetan los paneles.
P: ¿Cuántos soportes por panel?
R: Siempre 4 (2 arriba y 2 abajo). La separación depende de las cargas de nieve y viento locales; normalmente, de 1,2 a 1,8 m. Nunca exceda las especificaciones de ingeniería.
P: ¿Cuál es el mejor método de montaje? R: Depende de tu techo:
Principalmente hecha por acero galvanizado, anodizado el aluminio y el ZAM materiales
Suministrar servicio del OEM y accesorios. No cantidades limitación, y libre de las muestras si usted necesita
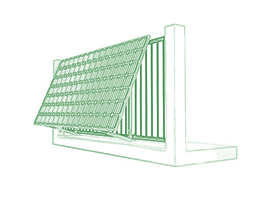
Install solar panel on the metal roof by standing seam, klip-lok, L foot or other clamps.
Adecuado para el azulejo de techo, techo de chapa y cubierta plana etc
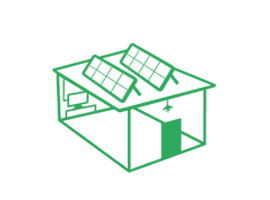
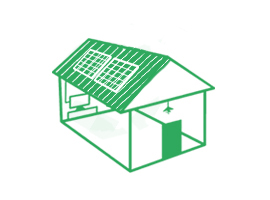
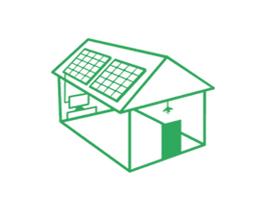
Totalmente independiente de la fuente de alimentación externa, adecuado para áreas sin acceso a la red
Sistema de generación de energía solar de alta eficiencia y ahorro de costos

CORIGY SOLAR , 11 años de experiencia en la investigación, fabricación y venta de solares, sistema de montaje. Siempre estamos tratando de brindar el mejor apoyo para usted, incluyendo la rapidez de respuesta, costos, control de calidad, de diseño, de apoyo al distribuidor.
Correo electrónico
sales@corigy.comTeléfono
0086-592-6883200Ubicación
No.893,Haicang Avenue,Haicang District,Xiamen City,China.

 Red IPv6 compatibles
 español
 English
 한국의
한국의